Like Presents?
Free Gift w/ $49 Purchase!

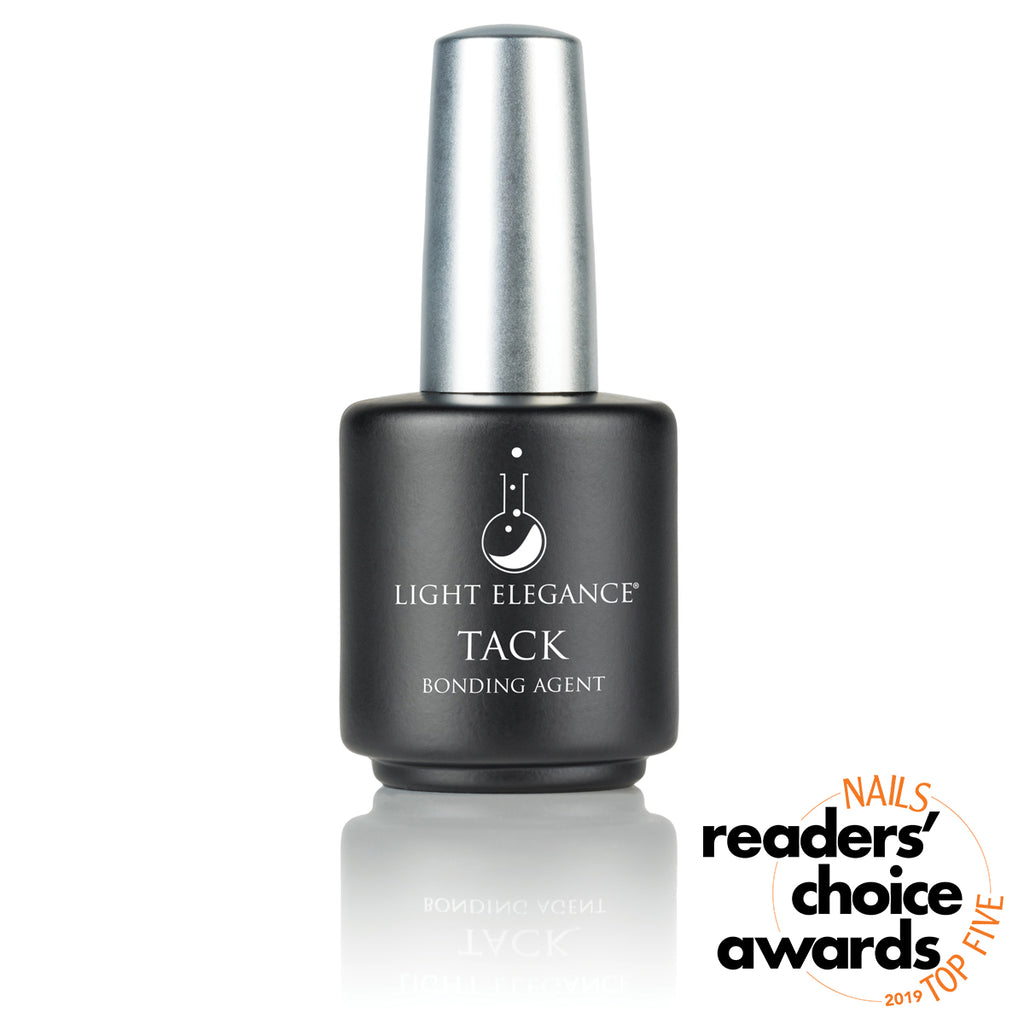
Meet Light Elegance Tack – your key to long-lasting nail enhancements!
This UV/LED-cured bonding agent leaves an ultra-sticky residue, ensuring a robust foundation for long-lasting results.
Key Features & Benefits
Ultra-Sticky Bond: Tack's residue provides unmatched adhesion and wearability, keeping your nail enhancements in place with confidence.
Versatile Application: Achieve excellent adhesion to both natural nails and plastic tips, eliminating the need to etch plastic tips. Tack also seamlessly conceals small lift lines for a flawless finish.
Client-Friendly: Suitable for most clients' fingernails, Tack is your reliable choice for various applications on natural nails or existing enhancements.
Convenient Options: Available in a 15 ml bottle with a brush for precise application or a 30 ml refill (without a brush) for an economical choice.

Shop Tack Bonding Agent Here
You can also save 5% when you purchase the Tack + Refill Bundle Here!
Educational Tips & Tricks
In this video, you can see Tack is applied prior to the Lexy Line application.
Following these steps in the Light Elegance prep method will ensure the nail surface is properly cleansed, prepared, and ready for the application of gel products.
Using Tack to etch full cover plastic tips before application:
By following these steps meticulously, you'll effectively use Tack to etch plastic tips, ensuring a secure and long-lasting bond between the tips and the natural nail plate.
Pro Tips:
- When applying Tack in addition to Airbond or Vitaprime, apply and cure Tack last
- Tack can be used with JimmyGel, Lexy Line or Acrylic
- Always remember to cap the free edge
FAQ:
-Tack is not a soak-off product. It is formulated to increase adhesion and will therefore increase soak-off times if used with a soak-off gel
-Tack is a liquid with a water-like consistency that should be UV/LED cured
-When using Tack with JimmyGel, remember it will increase adhesion and therefore increase the soak-off time
If you have more questions about Tack Bonding Agent, please feel free to give us a call at LEHQ or join our Facebook Group, #NewtoLE to get support from Nail Pros all around the world who use LE!
Shop Tack Bonding Agent Here
You can also save 5% when you purchase the Tack + Refill Bundle Here!
Why is Light Elegance HEMA Free? While many brands use it for adhesion and lowering costs, we avoid it along with HEA and IBOA to drastically lower the risk of allergies. Small molecular sized monomers like HEMA are known to penetrate the skin more easily than our state-of-the-art formulations high in premium oligomers, cause irritation and often lead to nail allergies.
At Light Elegance, we prioritize quality and safety. We manufacture products from scratch here in Redmond, Oregon with high-quality ingredients to minimize allergic responses for industry safety. We believe, What's Inside Matters!
Shop our HEMA Free Gel Nail Products today!
HEMA Free Builder Gels | HEMA Free Gel Polish | HEMA Free Gel Nails